After you have created an account on the Enrollment site, you are ready to begin enrolling in the FSH program.
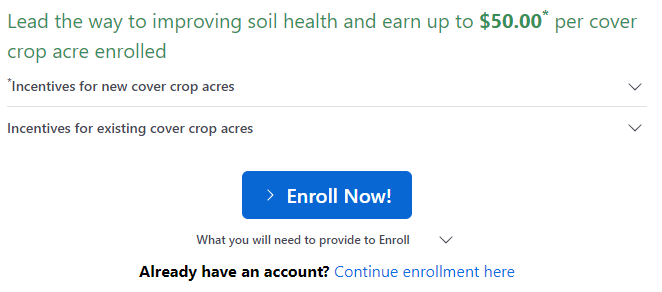
- From the Enrollment home page, click Continue enrollment here.
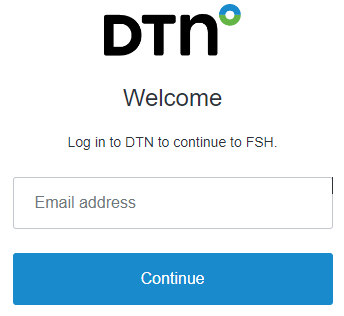
- Enter your email address. Click Continue.
- Enter your password. Click Continue.

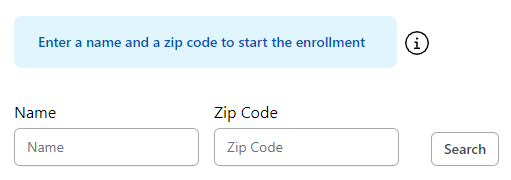
- On this screen, enter your last name and zip code to start a search for producers. Click Search.
Matches will be shown on the following screen.
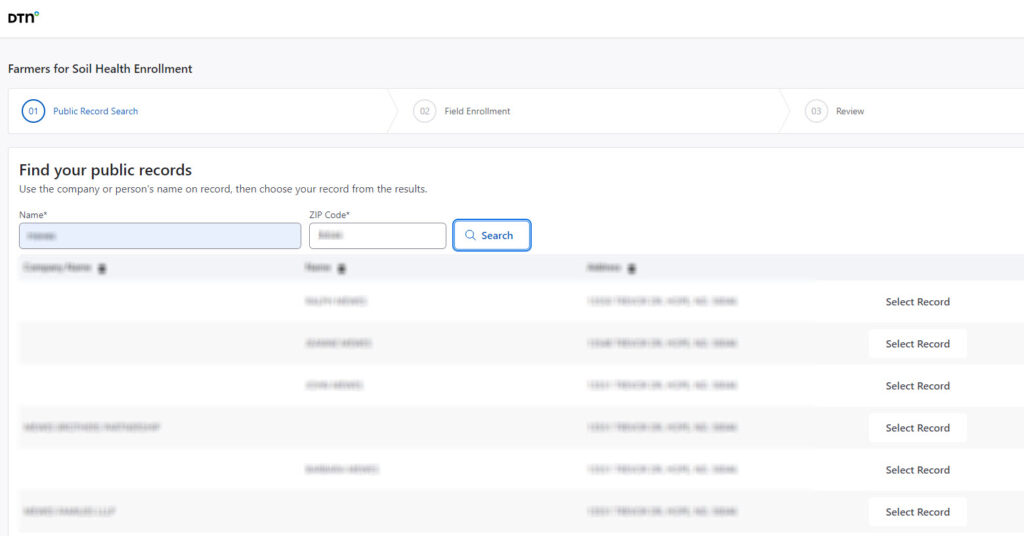
- Select the name that matches your operation. If you do not see your name/operation, please add it manually by clicking the add a new record link. The map will show the fields associated with the selected operation.
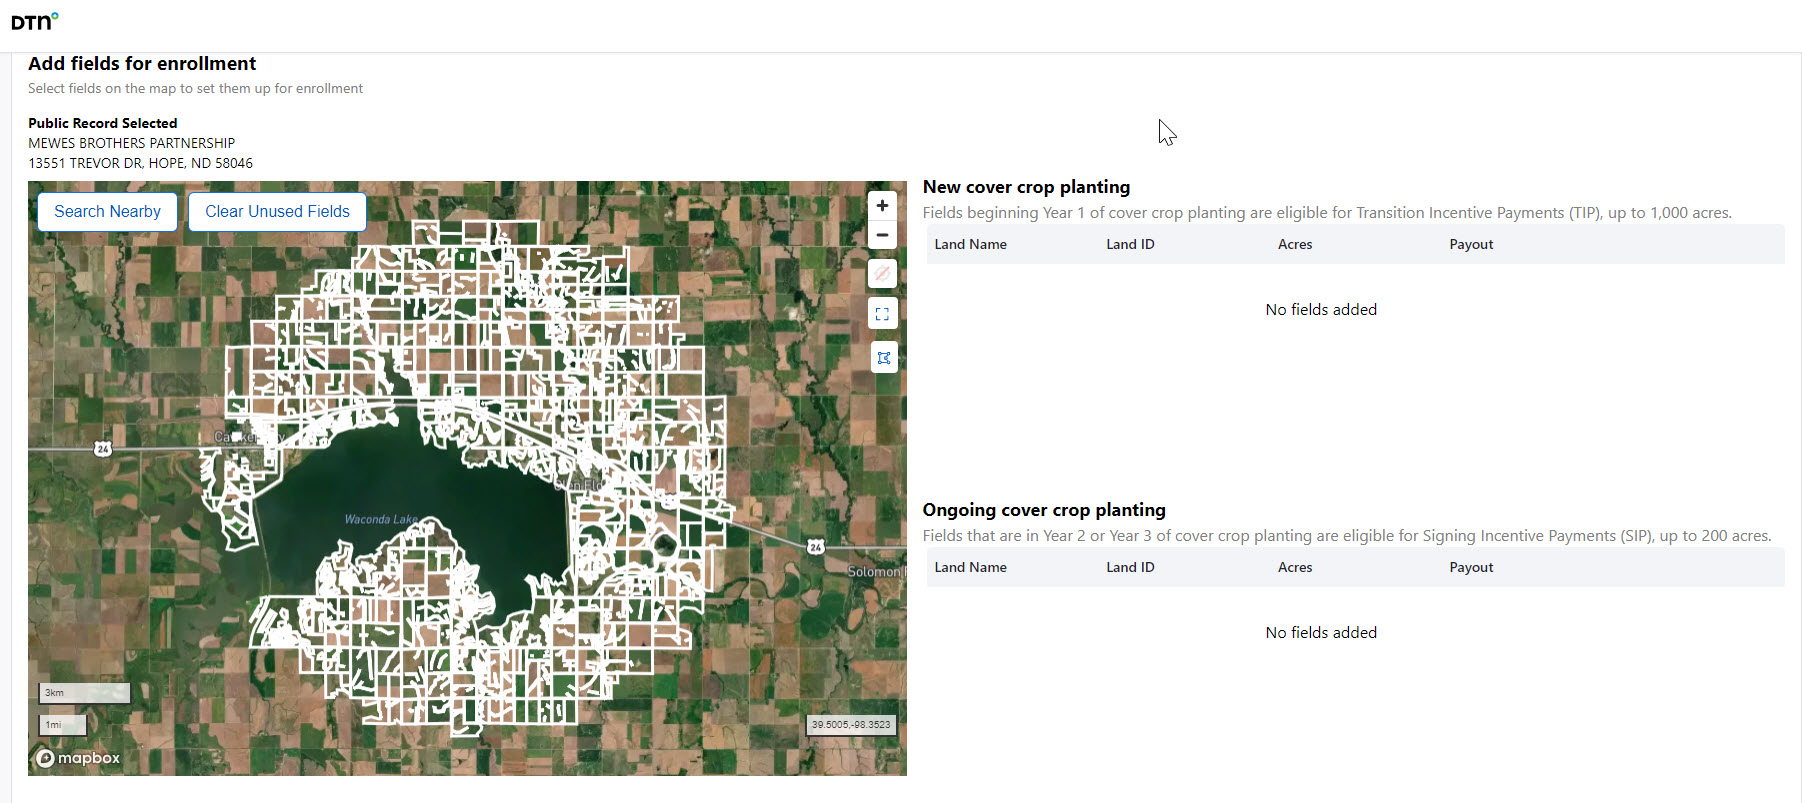
- Using the map as a guide, select one or more fields to include in the program. Clicking on the map and dragging will move the center of the map. The + button will zoom in and the – button will zoom out.
If you cannot see a field, click Search Nearby. See Using Search Nearby for more information.
- Click on a number to zoom into that cluster of fields.
Once a field is selected, the Field Information screen appears to enable you to add the needed field data for the program.
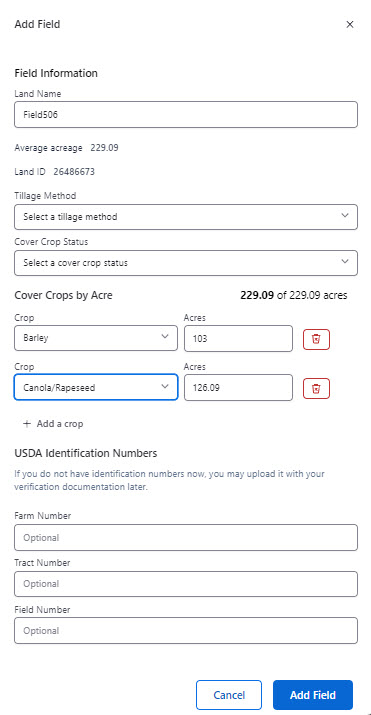
- Enter a name for the field that will help you know which fields are included in your submission. This name will be shown on the summary.
You will see the average crop acres from historical data. You will see a warning if the acres are more than the field has had historically, but you will be able to enter a higher value.
- Select a cover crop to be planted and estimate how much you will plant. You can add more than one cover crop on the field by clicking Add a crop.
- Select what type of tillage you will use on the field.
- Select whether you already have a cover crop on the field or whether this is a new operation for the selected field.
- Please enter your FSA information in the selected boxes, then click the add button.
- The selected fields will be shown on the left-hand side of the screen, together with the value of the grant. You can edit or delete the field submission by clicking the appropriate button. Continue to add fields by clicking in the map.
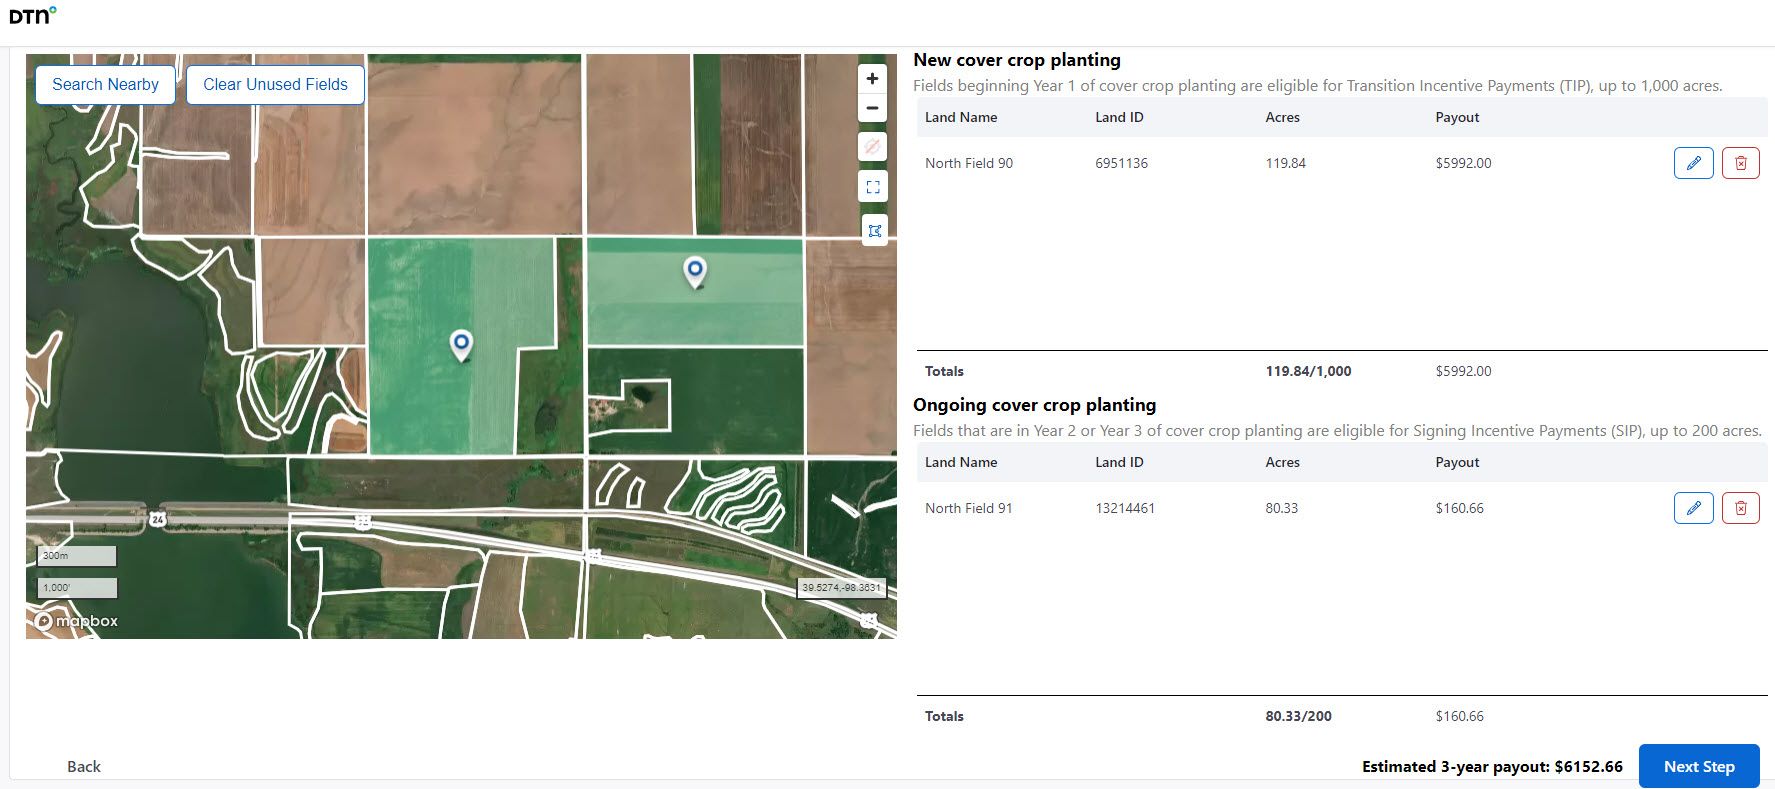
- Once all the fields have been added, click Next Step.
- On this page, you will see a summary of the selected fields in the previous steps.

- When you are happy with your submission, read the Review and Sign section.

- Select each check box to certify it is a true statement.
- Enter your name in the Electronic Signature field.
- Enter your EIN or SSN.
- Select the check box next to “I attest that the provided information is correct.”
- Click the Enroll button and your enrollment will be complete.
We will email you a summary of your enrolled fields together with a link that will enable you to change or add to your submission entry.